How to Pack Motorcycle Saddlebags for 10-Day Summer Adventure Tours in the Mountains
When you're gearing up for a long summer adventure through mountain twisties and scenic vistas, packing your motorcycle saddlebags properly isn't just about fitting gear—it’s about optimizing comfort, security, and accessibility on the road. Mishandling this can lead to worn straps, loose items, or even dangerous shifting mid-ride. As a seasoned rider and instructor, I’ll walk you through the essential steps to organize and secure your gear efficiently, ensuring every mile is met with confidence.
Remember, the right pack setup makes a difference whether you’re commuting, venturing off-road, or touring across multiple states. Let’s break down the critical aspects: fitment, weatherproofing, attachment security, and rider comfort—so you can focus on enjoying the ride, not your gear.
Table of Contents
Choosing the Right Saddlebags: Fitment and Volume
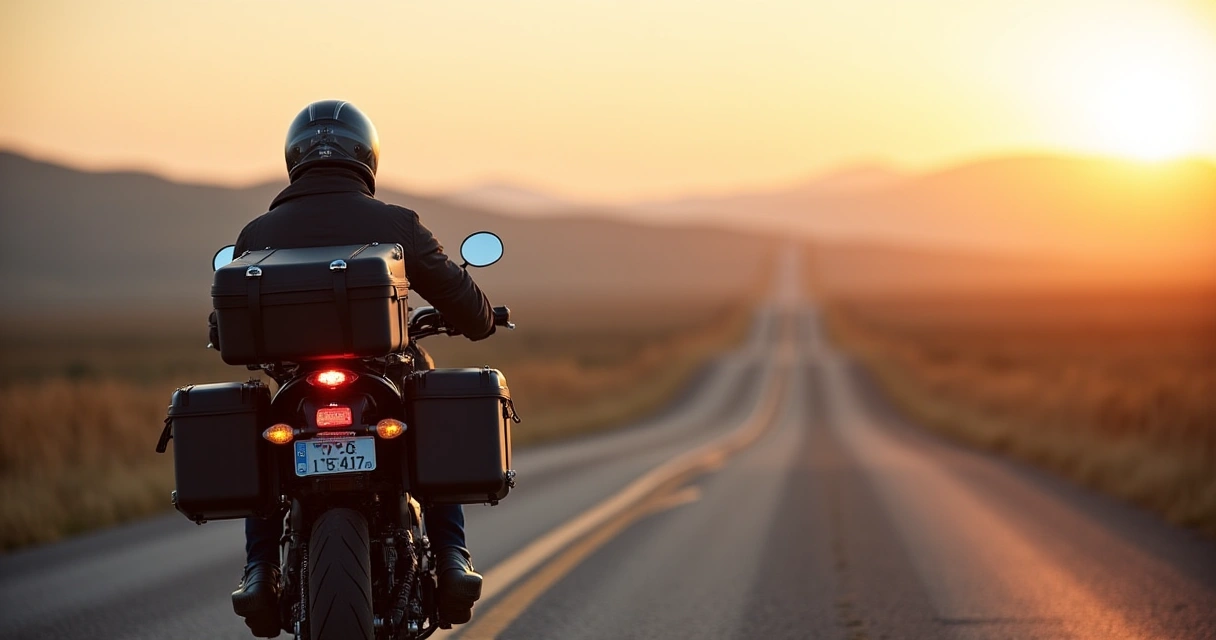
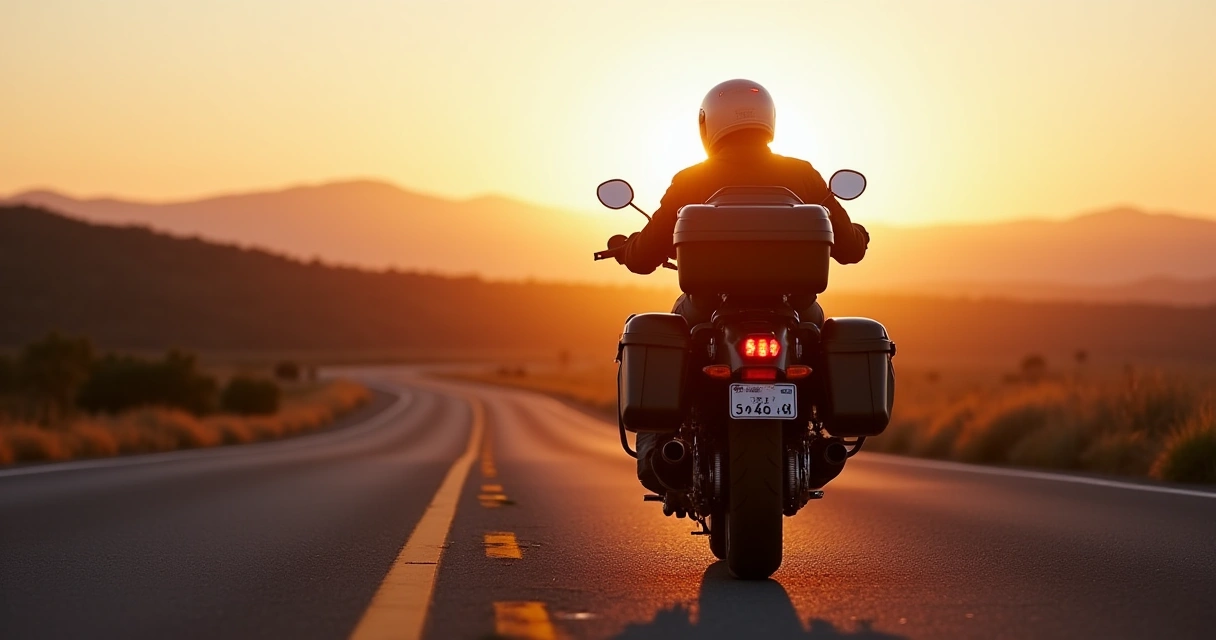
Start with understanding your bike’s mounting points and your riding style. For mountain adventures, look for saddlebags that match your bike's mounting system—whether they use quick-release mounting, over-the-axle straps, or dedicated racks. Proper fitment isn’t just about avoiding interference with your controls; it’s about stability. Loose bags shift, causing fatigue and imbalance, especially on twisty mountain roads.
Volume matters. For a 10-day tour, you’ll need enough capacity to carry clothes, camping gear (if applicable), and essentials. Generally, 30 to 40 liters per side is a sweet spot for moderate loads—enough for bulky items without overstuffing. Remember, overstuffed bags strain the mounting system and increase wind resistance, reducing stability and comfort.
Ensuring Weather Resistance
Mountain weather is unpredictable: you might enjoy the sun one moment and face a thunderstorm the next. Your saddlebags should be built from durable, weather-resistant materials—waterproof fabrics or heavy-duty ballistic nylon with sealed zippers are essentials. Never rely solely on rain covers; they tend to slip or tear over time. Instead, choose bags with integrated waterproof lining or roll-top closures.
If using soft-sided bags without inherent waterproofing, invest in quality dry bags or liners. Double layering your gear with waterproof bags not only protects against rain but also dust and mud kicked up on gravel sections. Consider the proximity of your gear—smaller, easily accessible dry bags or packing cubes help keep essentials like maps, snacks, and electronics dry and organized.
Mounting and Securing Your Saddlebags
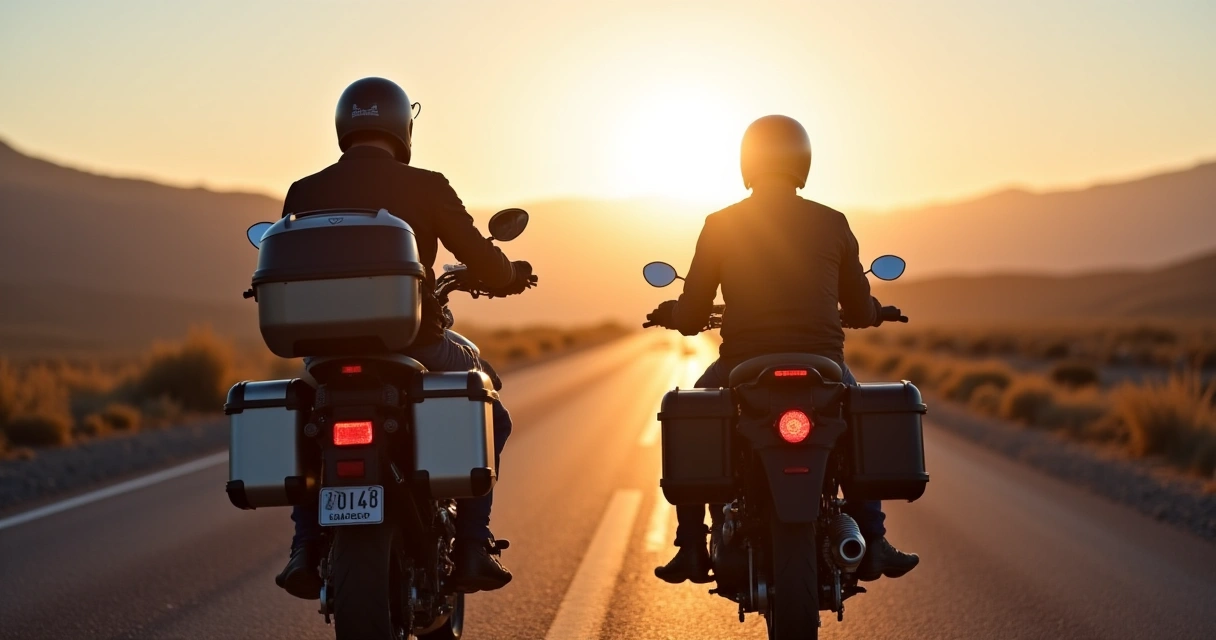
Secure mounting is non-negotiable. Saddlebags that flap or shift are dangerous and will cause rider fatigue. Use high-quality mounting systems—quick-release fasteners, locking straps, or dedicated mounting racks—that are compatible with your bike’s structure. Always double-check attachment points before each ride.
Use additional securing methods such as cam straps or bungee cords for peace of mind, especially on rough roads or single-track sections. If your bags have multiple mounting points, distribute the load evenly to prevent twisting and undue stress on the mountings. Periodic checks during long stops will help prevent unexpected loosening caused by vibration or terrain changes.
Packing Strategies for Convenience and Safety
Pack systematically—place heavier items at the bottom of the saddlebags to lower your center of gravity and improve handling. Keep essentials—spare inner tubes, tools, first aid kit—near the top or in external accessible compartments for quick reach. Use compression bags to maximize space and minimize bulk.
Organize your gear in color-coded dry bags or packing cubes. Not only does this streamline unpacking at camp or petrol stops, but it prevents the dreaded "digging through everything" rummage. Remember, accessibility is key: keep frequently used items—water, snacks, phone—within arm’s reach without having to fully unfasten your bags.
Seasonal and Riding Style Considerations
For summer mountain tours, weight and ventilation are critical. Light, perforated summer gear combined with ventilated saddlebags prevents overheating and gear damage. If your riding includes off-road sections, rugged, hard-wearing bags with reinforced mounting points will withstand brush and debris better than soft bags.
Adjust packing density based on your riding style—commute riders may prefer minimal bags, while adventure tourers need to carry more gear for different conditions. Always factor in the extra layers, rain gear, and charging cables you might need—too much weight reduces comfort and stability, especially on mountain grades.
Frequently Asked Questions
Can I use soft saddlebags for multi-day tours?
Yes, but choose waterproof, durable models with secure mounting systems. Soft bags tend to be lighter and easier to pack efficiently. However, always verify weatherproofing features for mountain conditions.
What’s the best way to prevent my gear from shifting during aggressive riding?
Use tight, secure mounting systems and load heavier items at the bottom of the bags. Additional straps and compression gear also help keep everything stable.
How do I handle rain and mud on mountain trails?
Invest in waterproof bags or liners, and pack smaller dry bags within your saddlebags. Quick access to rain gear and a microfiber towel ensures you stay dry and comfortable.
Are hard-shell saddlebags better than soft-sided ones?
Hard-shells offer superior protection from impacts and theft but are heavier and can limit packing flexibility. Soft bags are more adaptable and lighter but require careful waterproofing and secure mounting.
How much gear can I realistically pack for a 10-day mountain tour?
Typically 60-80 liters total, including clothes, sleeping gear, and tools. Prioritize multi-use clothing, and use compression bags to maximize space without overloading.
What tools should I carry for roadside repairs?
A basic multi-tool, tire repair kit, patching supplies, and a portable air pump are essential. Secure them in a dedicated, easily accessible dry bag.
Conclusion
Mastering the art of packing your saddlebags for a mountain tour hinges on smart fitment, weatherproofing, and securing gear properly. The right system enhances your comfort, safety, and peace of mind, letting you focus on the ride ahead. Take the time to optimize your setup, and you'll confidently conquer every winding mountain road, rain or shine. Now, verify your gear, double-check your mounts, and hit those mountain passes prepared for adventure.